
Video: Organizer Client Experience
Client Experience: Step-by-Step Guide
This article shows the SafeSend Organizers client view as seen on a desktop. Please see the Client Mobile View article to see how the process looks on a mobile device. Click on each section below to expand the steps and to see the client experience for accessing, signing, and completing an organizer.
Important
Organizers cannot be completed on a mobile device, you must use a desktop, laptop or tablet. Only signing engagement letters and uploading source documents is supported on a mobile device.
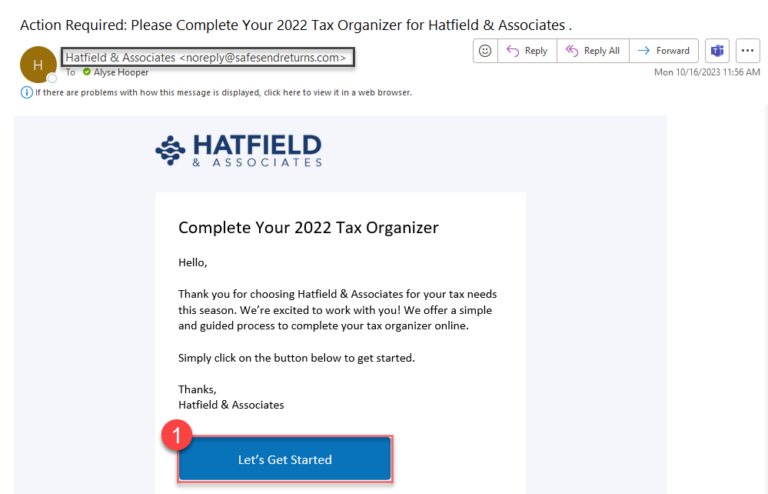
Initial Email
The initial email will come from noreply@safesendreturns.com.
1. Click Let’s Get Started to open the Organizer.
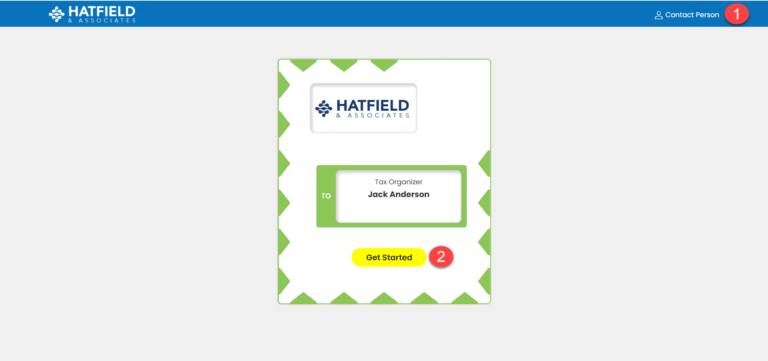
Start Page
1. Click Contact Person to reach out to Slattery & Holman if you have any questions.
2. Click Get Started to proceed to Authentication.
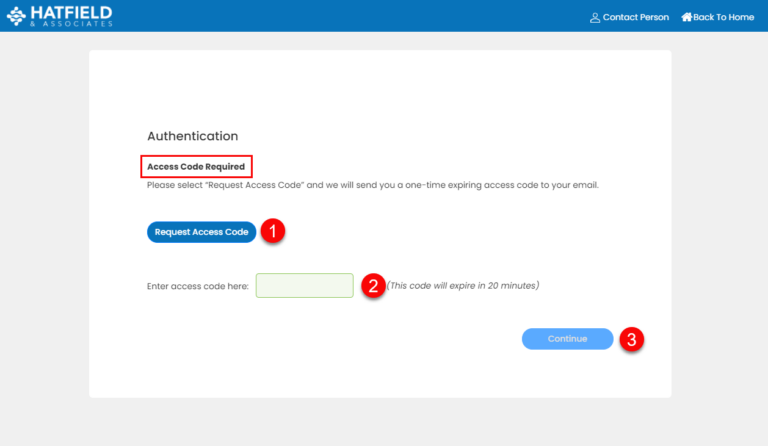
Authentication
1. Click the Request Access Code button.
2. Enter the 6 or 8-digit access code in the code field.
3. Click Continue to proceed to the Welcome Page.
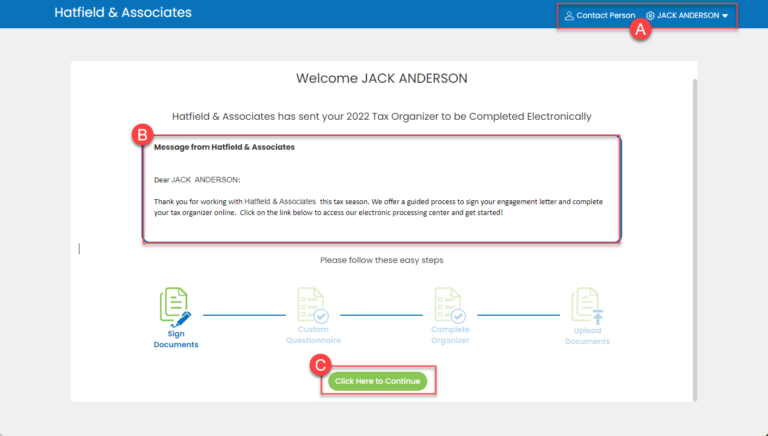
Welcome Page
This is the main dashboard for your organizer.
A. The title line displays:
-
- Contact Person will provide the designated contact in case you have any questions.
- Client Settings panel where you can log out.
B. Review the message from your tax preparer.
C. Select Click Here to Continue to move to the first step.
-
- Some steps may be greyed out or not appear if not required by your CPA.
- If you have a spouse and all the options are greyed out, your spouse must sign before you can continue.
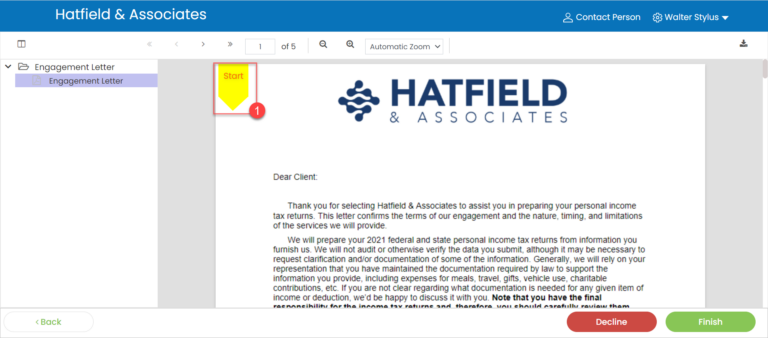
Sign Engagement Letter
Please note:
- If signing is required by the firm, the Finish button will not be available.
- To bypass signing, click the Decline button.
- A consent box will appear asking you to confirm you have reviewed the document.
1 Click the Start button to begin signing.
-
-
- Continue to click the arrow as you proceed through all signature lines.
-
2. Click the Signature Box.
3. Click Type or Draw to write your signature.
4. Click Apply.
5. Click Finish.

Organizer Steps
After signing your documents, you will be directed back to the Welcome Page. From this page, you can do the following:
1. Select Download Signed Documents.
-
-
- This will automatically download the documents to your workstation.
-

1 Click Upload Documents.

Please Note:
- Supported file types include PDF, DOC, Excel, PNG and JPEG. Other file types cannot be uploaded.
- File names must be 200 characters or less.
- Encrypted or password-protected documents should not be uploaded and cannot be previewed.
1. Drag/drop into the box OR click Click to Upload.
-
-
- Upload one or more documents.
-
2. Click Download to download the documents you have already uploaded.
3. Click the Eye icon to preview your document.
4. Click the Delete icon to remove the document.
5. Click Continue Later to save your document uploads and send an email to the firm.
-
-
- This will allow you to upload more documents at a later time.
-
6. Click Finish when you have uploaded all tax source documents.
-
-
- This will remove the upload option from your organizer.
- The firm that prepared the organizer can unlock the upload option for you.
-
7. Must click Confirm to complete.

1. Click Complete Organizer.

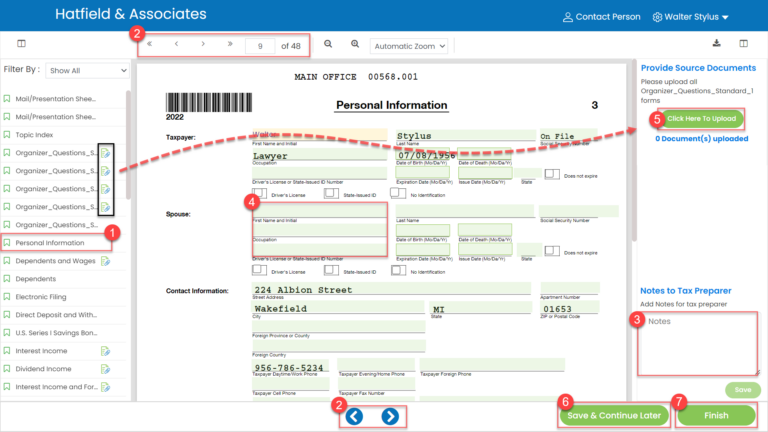
Follow the steps below to fill out your organizer.
1. Click a bookmark name in the Bookmarks Panel to move to a specific page.
2. Navigation
-
-
- Click the navigation arrows to move through the organizer pages OR
- Click the Blue Arrows at the bottom
-
3. Type into the Notes to Preparer to enter any notes you need to provide to your CPA.
4. Type into the green fillable fields of the organizer.
-
-
- Text can be entered over the original text
- If your organizer is sent to you and your Spouse, edits made will be identified with color coding to distinguish who completed it.
-
5. Click Click Here to Upload to upload source documents. You can drag/drop files or click to open your file explorer.
-
-
- Note: This option only appears on certain pages.
- In the Bookmark Panel, icons are added to those pages that may require source documents.
- Note: This option only appears on certain pages.
-
6. Click Save & Continue Later to be directed back to the Welcome Page.
7. Click Finish to mark the organizer as complete.
Finishing the Organizer
After you click the Finish button, you will receive a pop-up notification to confirm you are done.
If a spouse was not included on the Organizer:
1. Click Review Missing Information if the organizer is not completed.
-
-
- This option will bring you back to the organizer to continue filling out.
-
2. Click Organizer Complete if the organizer is completed.

If a spouse was included on the Organizer:
1. Click Send to My Spouse if you would like to send the organizer to your spouse for review.
2. Click Finish if the Organizer is completed.

The initial email will come from noreply@safesendreturns.com.
1. Click Let’s Get Started to open the Organizer.
1. Click Contact Person to reach out to Slattery & Holman if you have any questions.
2. Click Get Started to proceed to Authentication.
1. Click the Request Access Code button.
2. Enter the 6 or 8-digit access code in the code field.
3. Click Continue to proceed to the Welcome Page.
This is the main dashboard for your organizer.
A. The title line displays:
-
- Contact Person will provide the designated contact in case you have any questions.
- Client Settings panel where you can log out.
B. Review the message from your tax preparer.
C. Select Click Here to Continue to move to the first step.
-
- Some steps may be greyed out or not appear if not required by your CPA.
- If you have a spouse and all the options are greyed out, your spouse must sign before you can continue.
Please note:
- If signing is required by the firm, the Finish button will not be available.
- To bypass signing, click the Decline button.
- A consent box will appear asking you to confirm you have reviewed the document.
1 Click the Start button to begin signing.
-
-
- Continue to click the arrow as you proceed through all signature lines.
-
2. Click the Signature Box.
3. Click Type or Draw to write your signature.
4. Click Apply.
5. Click Finish.
After signing your documents, you will be directed back to the Welcome Page. From this page, you can do the following:
1. Select Download Signed Documents.
-
-
- This will automatically download the documents to your workstation.
-
1 Click Upload Documents.
Please Note:
- Supported file types include PDF, DOC, Excel, PNG and JPEG. Other file types cannot be uploaded.
- File names must be 200 characters or less.
- Encrypted or password-protected documents should not be uploaded and cannot be previewed.
1. Drag/drop into the box OR click Click to Upload.
-
-
- Upload one or more documents.
-
2. Click Download to download the documents you have already uploaded.
3. Click the Eye icon to preview your document.
4. Click the Delete icon to remove the document.
5. Click Continue Later to save your document uploads and send an email to the firm.
-
-
- This will allow you to upload more documents at a later time.
-
6. Click Finish when you have uploaded all tax source documents.
-
-
- This will remove the upload option from your organizer.
- The firm that prepared the organizer can unlock the upload option for you.
-
7. Must click Confirm to complete.
1. Click Complete Organizer.
Follow the steps below to fill out your organizer.
1. Click a bookmark name in the Bookmarks Panel to move to a specific page.
2. Navigation
-
-
- Click the navigation arrows to move through the organizer pages OR
- Click the Blue Arrows at the bottom
-
3. Type into the Notes to Preparer to enter any notes you need to provide to your CPA.
4. Type into the green fillable fields of the organizer.
-
-
- Text can be entered over the original text
- If your organizer is sent to you and your Spouse, edits made will be identified with color coding to distinguish who completed it.
-
5. Click Click Here to Upload to upload source documents. You can drag/drop files or click to open your file explorer.
-
-
- Note: This option only appears on certain pages.
- In the Bookmark Panel, icons are added to those pages that may require source documents.
- Note: This option only appears on certain pages.
-
6. Click Save & Continue Later to be directed back to the Welcome Page.
7. Click Finish to mark the organizer as complete.
Finishing the Organizer
After you click the Finish button, you will receive a pop-up notification to confirm you are done.
If a spouse was not included on the Organizer:
1. Click Review Missing Information if the organizer is not completed.
-
-
- This option will bring you back to the organizer to continue filling out.
-
2. Click Organizer Complete if the organizer is completed.
If a spouse was included on the Organizer:
1. Click Send to My Spouse if you would like to send the organizer to your spouse for review.
2. Click Finish if the Organizer is completed.
SafeSend Organizers FAQ
Which file types can I upload?
You can upload pdf, .doc, .xls, .txt, .png and .jpeg files.
Can I edit an organizer after it’s been submitted as complete?
Yes, Slattery & Holman would need to unlock the organizer for editing. Please contact us if you wish to make any changes after you have marked your organizer as complete.
When can I upload additional documents?
If you marked the document uploads as complete, additional documents cannot be uploaded. If you wish to upload additional documents after you have marked your organizer and document uploads as complete, please contact Slattery & Holman.
Can I fill out my organizer on a tablet?
Yes, the organizer can be completed on a tablet. This includes signing, completing the questionnaire, filling out the roganizer, and uploading documents.
Can I fill out my organizer on a phone?
Organizers can be partially completed on a phone. You can sign and upload documents, but you cannot complete the questionnaire or fill out the organizer. See the Organizers on Mobile article for more information.
Why are all the options to sign and fill grayed out?
This indicates that your spouse must sign the engagement letter before you can continue.
You can upload pdf, .doc, .xls, .txt, .png and .jpeg files.
Yes, Slattery & Holman would need to unlock the organizer for editing. Please contact us if you wish to make any changes after you have marked your organizer as complete.
If you marked the document uploads as complete, additional documents cannot be uploaded. If you wish to upload additional documents after you have marked your organizer and document uploads as complete, please contact Slattery & Holman.
Yes, the organizer can be completed on a tablet. This includes signing, completing the questionnaire, filling out the roganizer, and uploading documents.
Organizers can be partially completed on a phone. You can sign and upload documents, but you cannot complete the questionnaire or fill out the organizer. See the Organizers on Mobile article for more information.
This indicates that your spouse must sign the engagement letter before you can continue.